It’s good! I mean, really, good.
When I used to get gels on my nails, they would lift after a few days. I acknowledge that I am rough on my hands and this past week was no exception – I had to get swatching done! I even used acetone when it said not to. I wanted to test this gel to the max and I think I did.
I try to swatch about 4 colors a day so I have a backlog of picture swatches to refer to for when I write up posts. I’m currently behind – last week was a bit busy and I only swatched on two out of five days. Urgh. Plus, this week won’t be any better because I’ve got some personal stuff to take care of. I’ll work through it and hope to be ready to go on Wednesday or, by the very least, Thursday for swatching.
For the record, I only wore this for a week because I plan for this upcoming week to be all about the glitter…and I needed to be able to wear my Glitter A-Peel to be able to do so. Haven’t used Glitter A-Peel? Don’t know what it is? Have no fear – that will be featured in tomorrow’s post. 😉
REMOVAL of Gelish VitaGel Nail Strengthener was such a breeze. I actually had layered it on a bit thick and anticipated some kind of removal drama…but no. I took my roughest grit file, broke the shininess of the gels on my nails, soaked cotton balls with Zoya remove (you can use whatever polish remover you like, but it has to contain acetone), applied said cotton balls to my nails and wrapped in foil…waited five minutes et voilà ! Easily scraped off with an orange wood stick. I applied cuticle oil after…but honestly. That gel removal was easier than glitter polish removal.
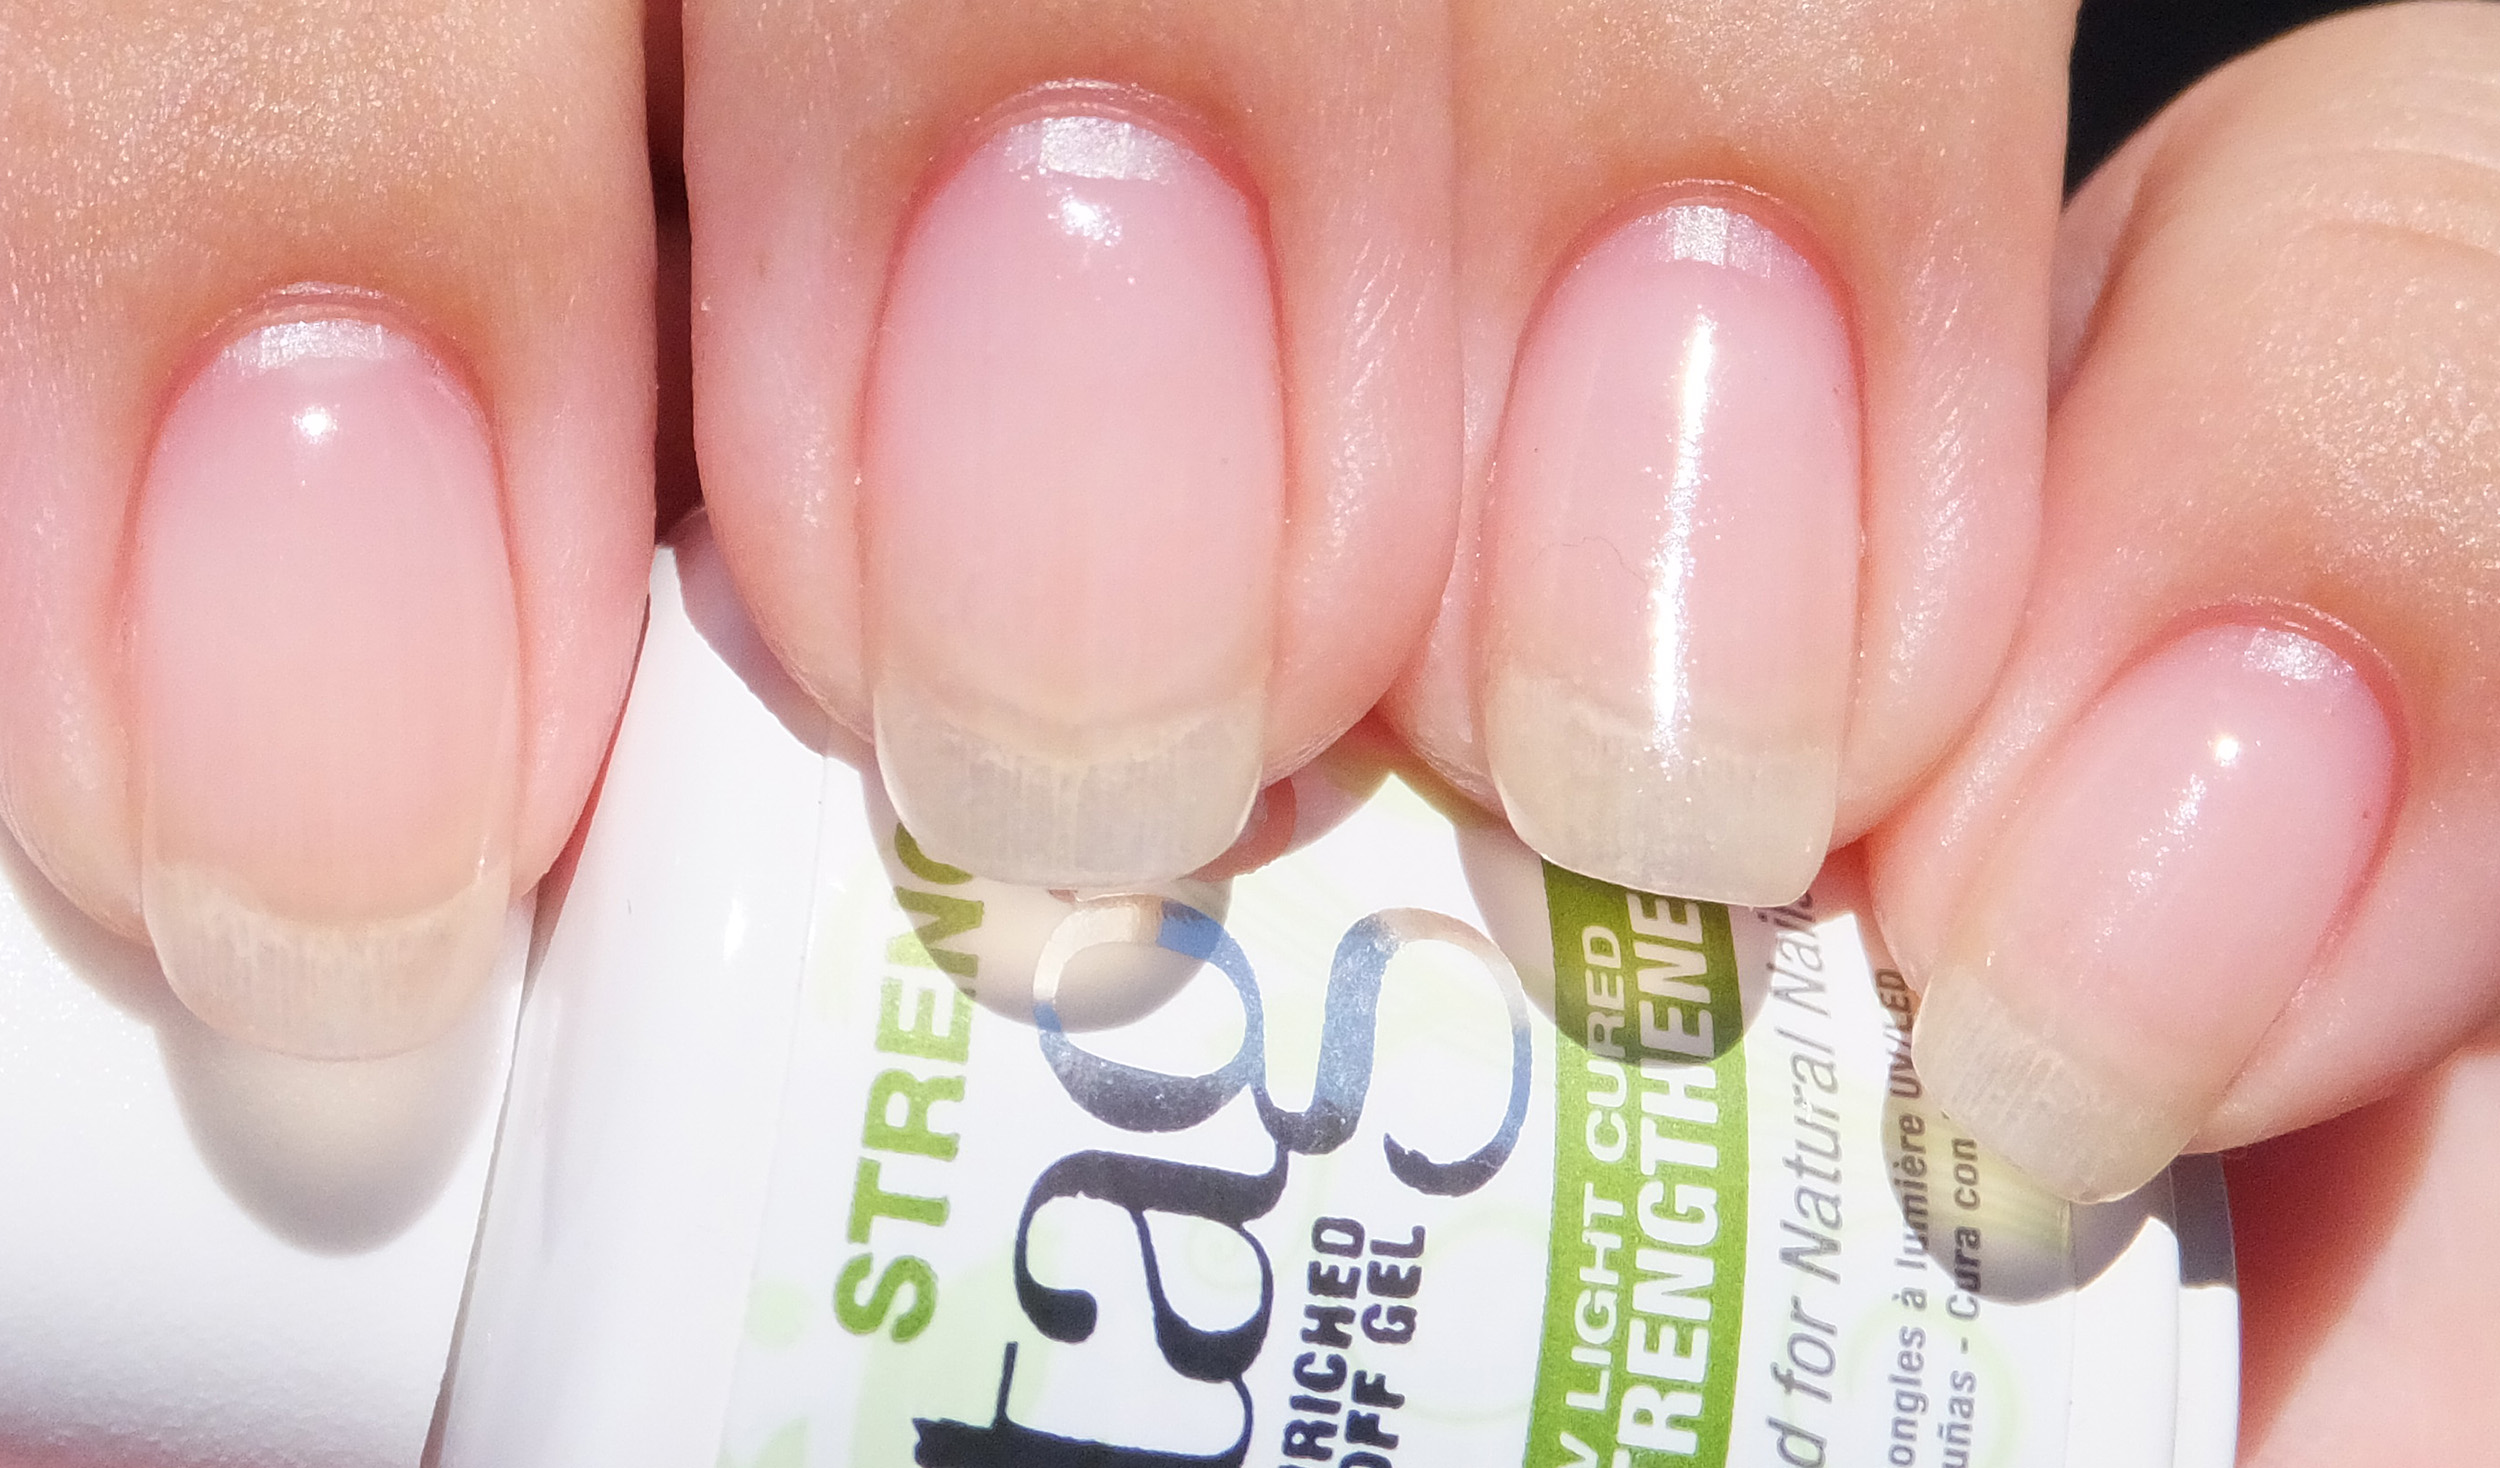
Here are some final notes before I show you my nails with the gels on before I removed them – they have a week’s worth of growth on them.
- You can use acetone, but it does break the gel down, especially around the cuticle area of the nail. However, it’s not entirely noticeable.
- I experienced zero lifting at the tips of my nails – in the application process I used rubbing alcohol to clean my nail beds and tips.
- Extremely easy to apply the gel and curing time with an LED lamp beats UVÂ any day.
- I had minor lifting on the 7th day because I picked at it – MY fault.
Now, on to the pictures which shall have some commentary. To see larger images, click on the picture!
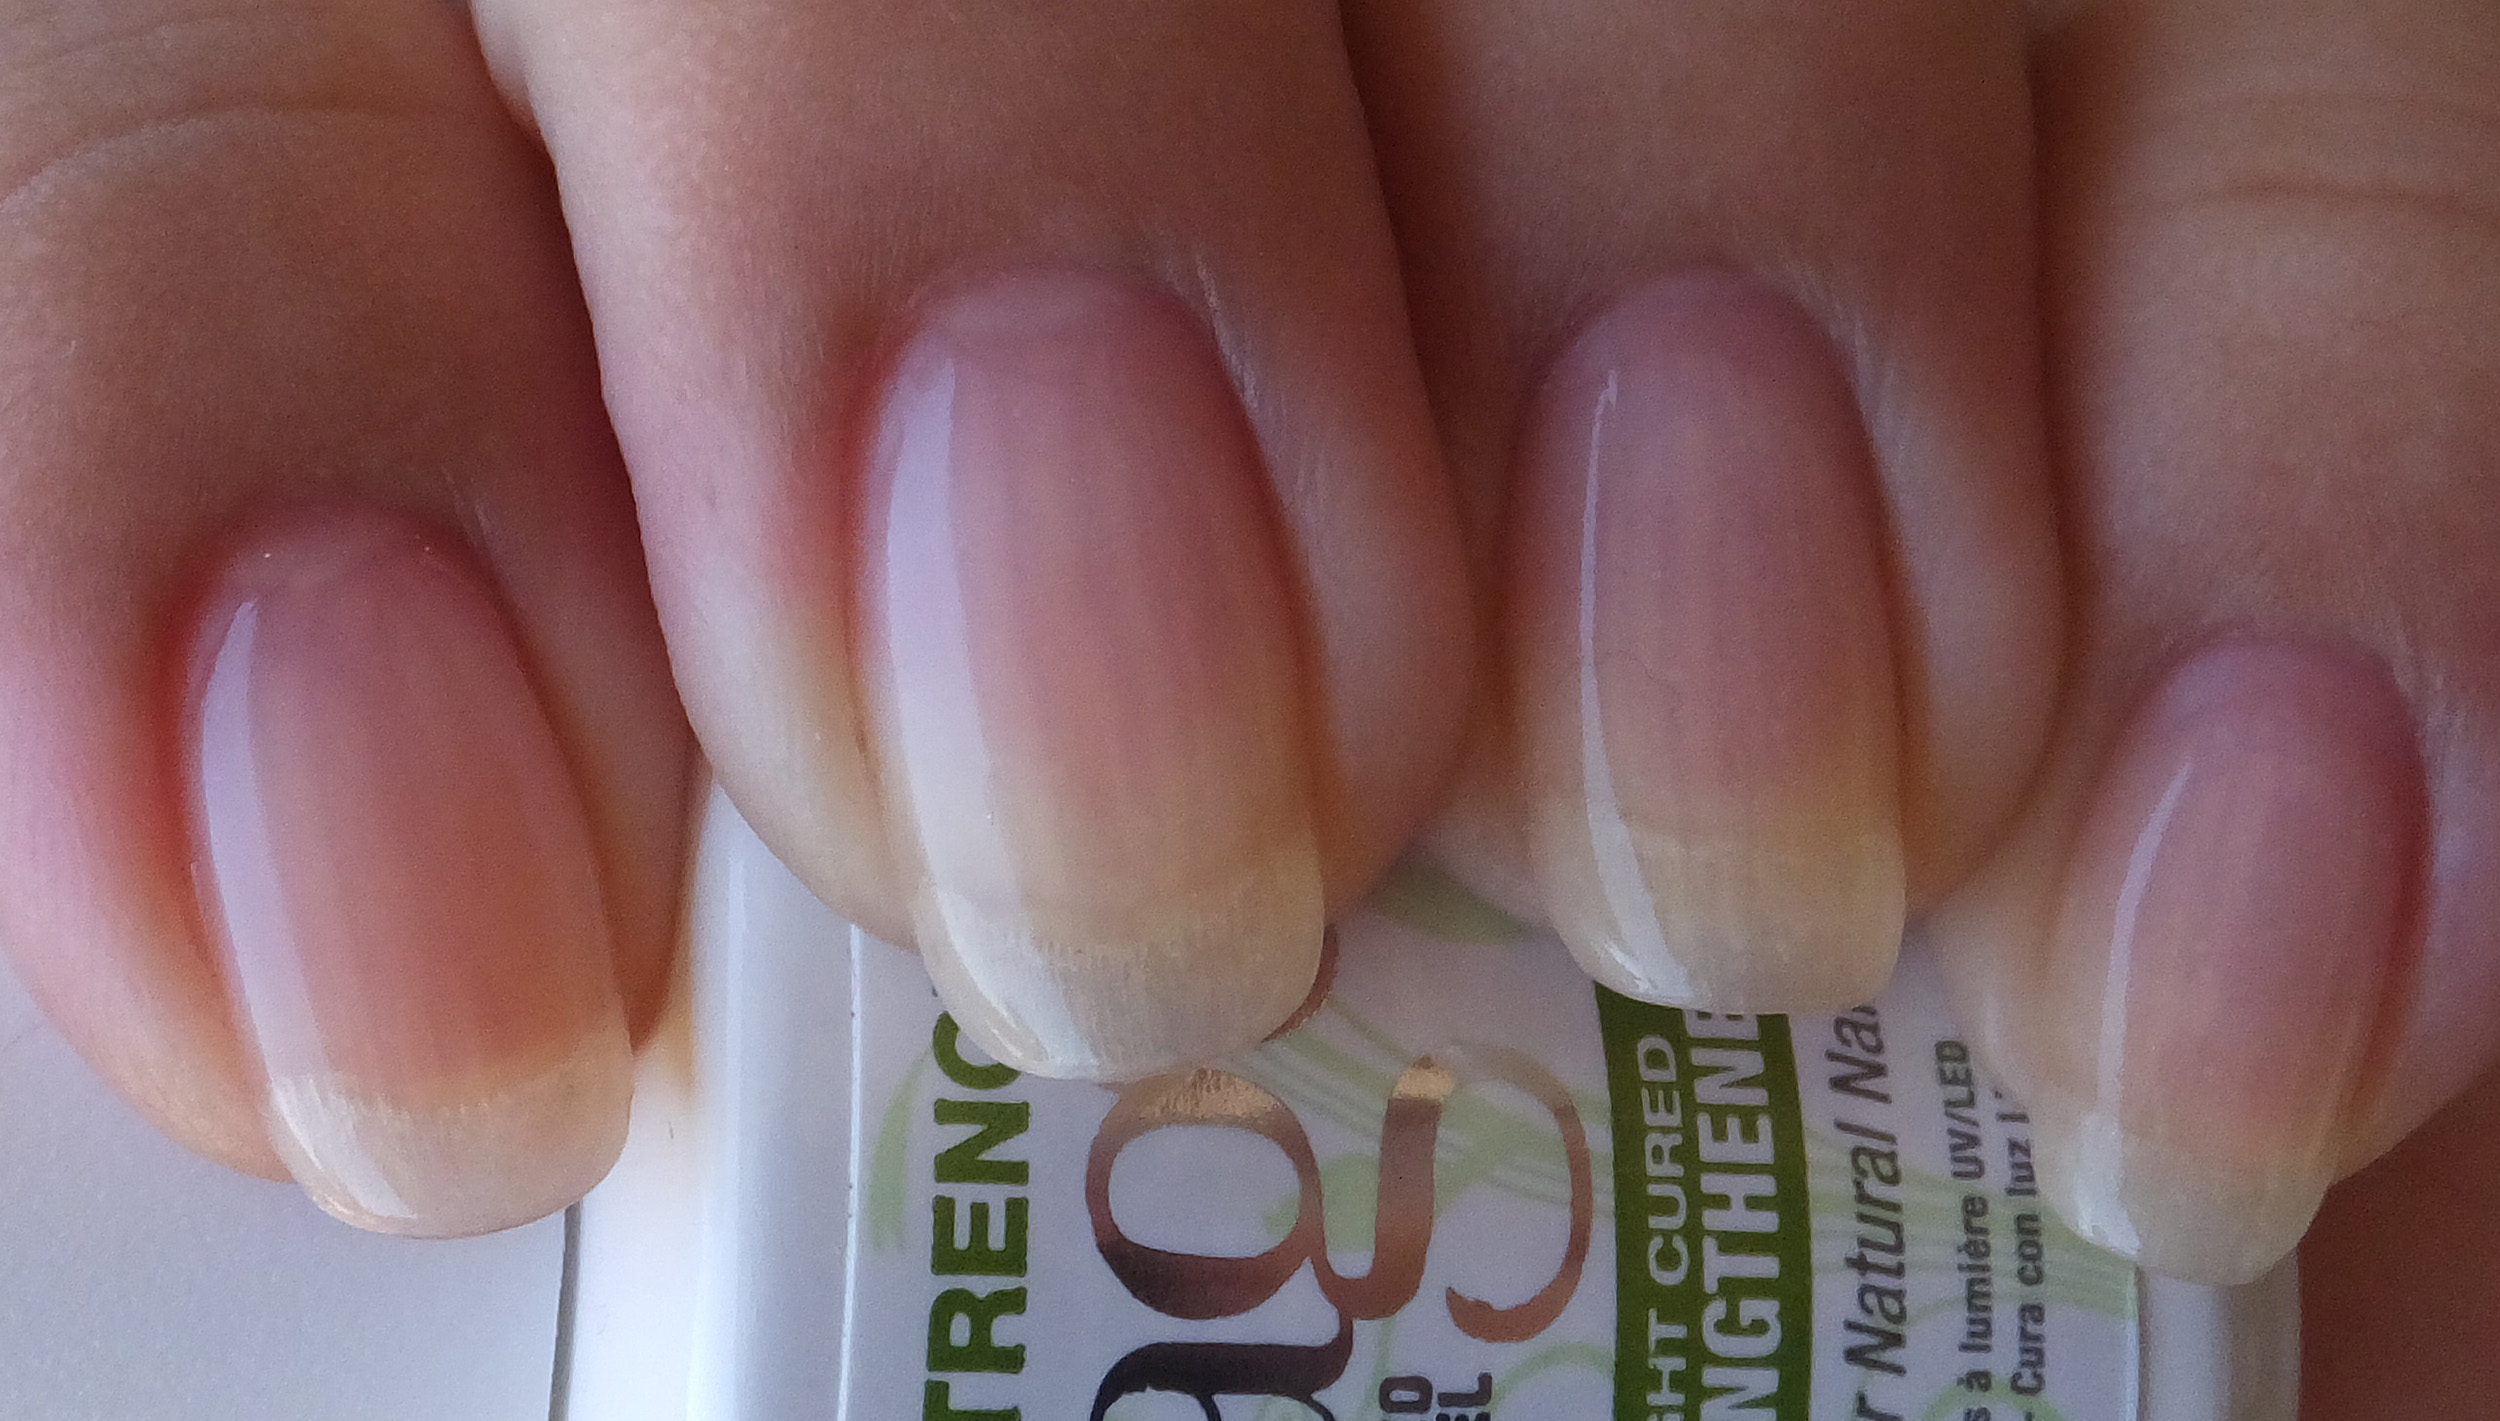
Gelish VitaGel Week 1, shade
Though you can’t really see it here, my pointer finger (that is the one to the far left) actually had minor lifting at the base of the nail. You can’t really see it in the shade shot.
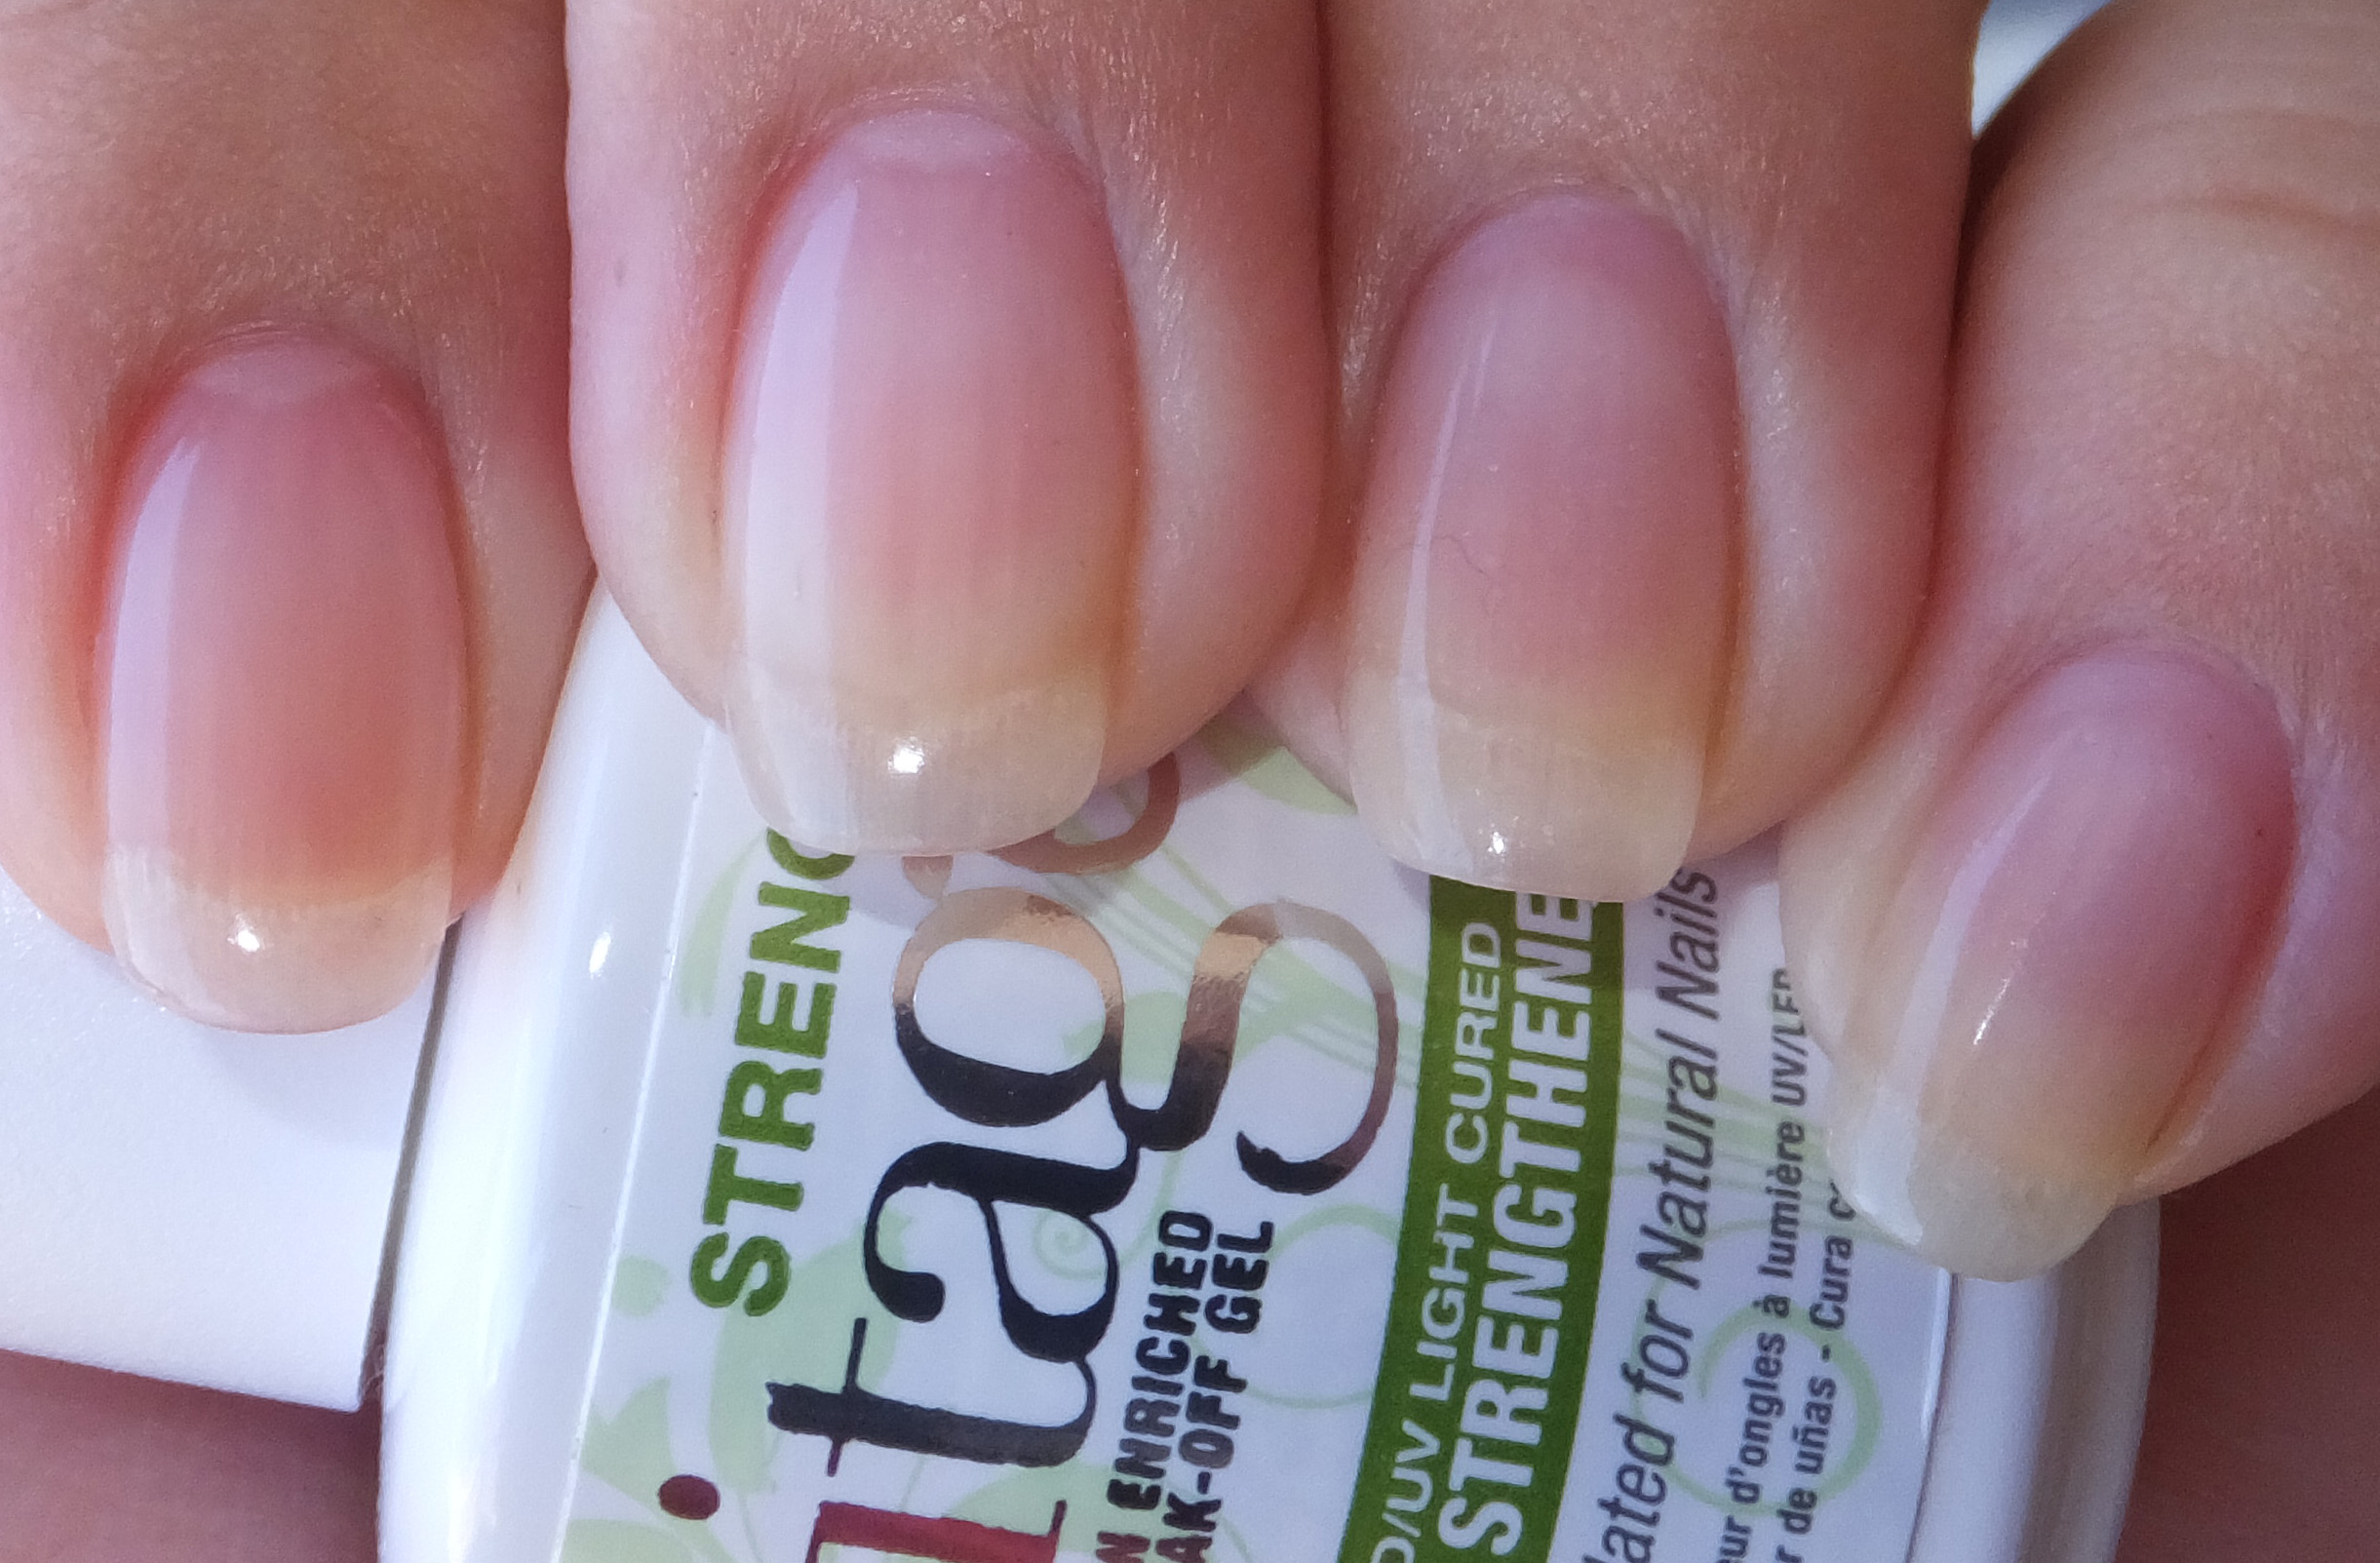
Gelish VitaGel Week 1, Flash
You can sort of see the minor lift in here.
Gelish VitaGel Week 1, Sunlight
This shot shows my nail growth the best – you can see my natural nail bed between the gel and my cuticle.
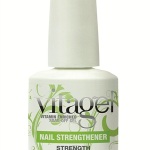
All in all I’m extremely happy with Gelish VitaGel Nail Strengthener and will be putting it back on my nails at the end of the week.
I was able to purchase Gelish VitaGel Nail Strengthener for $13 and an LED curing lamp for $50. Well worth it.
I have weak flimsy nails which are prone to peeling and this is the right amount of strengthening without it feeling fake – like I’ve got acrylics or a permanent gel on.
Best of all? While it may sound crazy given how much I love nail polish…at the end of the day I love plain nails that are well kept. This achieves that – Gelish VitaGel Nail Strengthener has a mega high gloss that makes it look like you’ve got a flawless and indestructible nail polish top coat on…I love it.
If you’ve made it this far, thank you!
If you like what you’ve read, please click the Like button below…remember, sharing is caring.
À bientôt!
Was this post interesting? Come read more!